
Modern web projects often begin in design tools and end inside a content management system. Two platforms dominate the Figma to Divi workflow: Figma for interface design and Divi for WordPress development. Designers rely on Figma for collaborative, high-fidelity layouts, while developers use Divi to visually construct pages within WordPress.
The challenge appears when teams attempt a smooth Figma to Divi transition without losing visual accuracy. Pixel-perfect design refers to reproducing a layout exactly as designed, including spacing, typography, colors, and alignment. For brands, consistency builds trust. For developers, accuracy reduces revisions and rework. A refined Figma to Divi workflow helps bridge the gap between design intent and live WordPress pages.

Understanding Figma
What Is Figma?
Figma is a browser-based interface design and prototyping platform used by designers, product teams, and agencies worldwide. It allows real-time collaboration, making it easier for designers, developers, and stakeholders to work from a single source of truth.
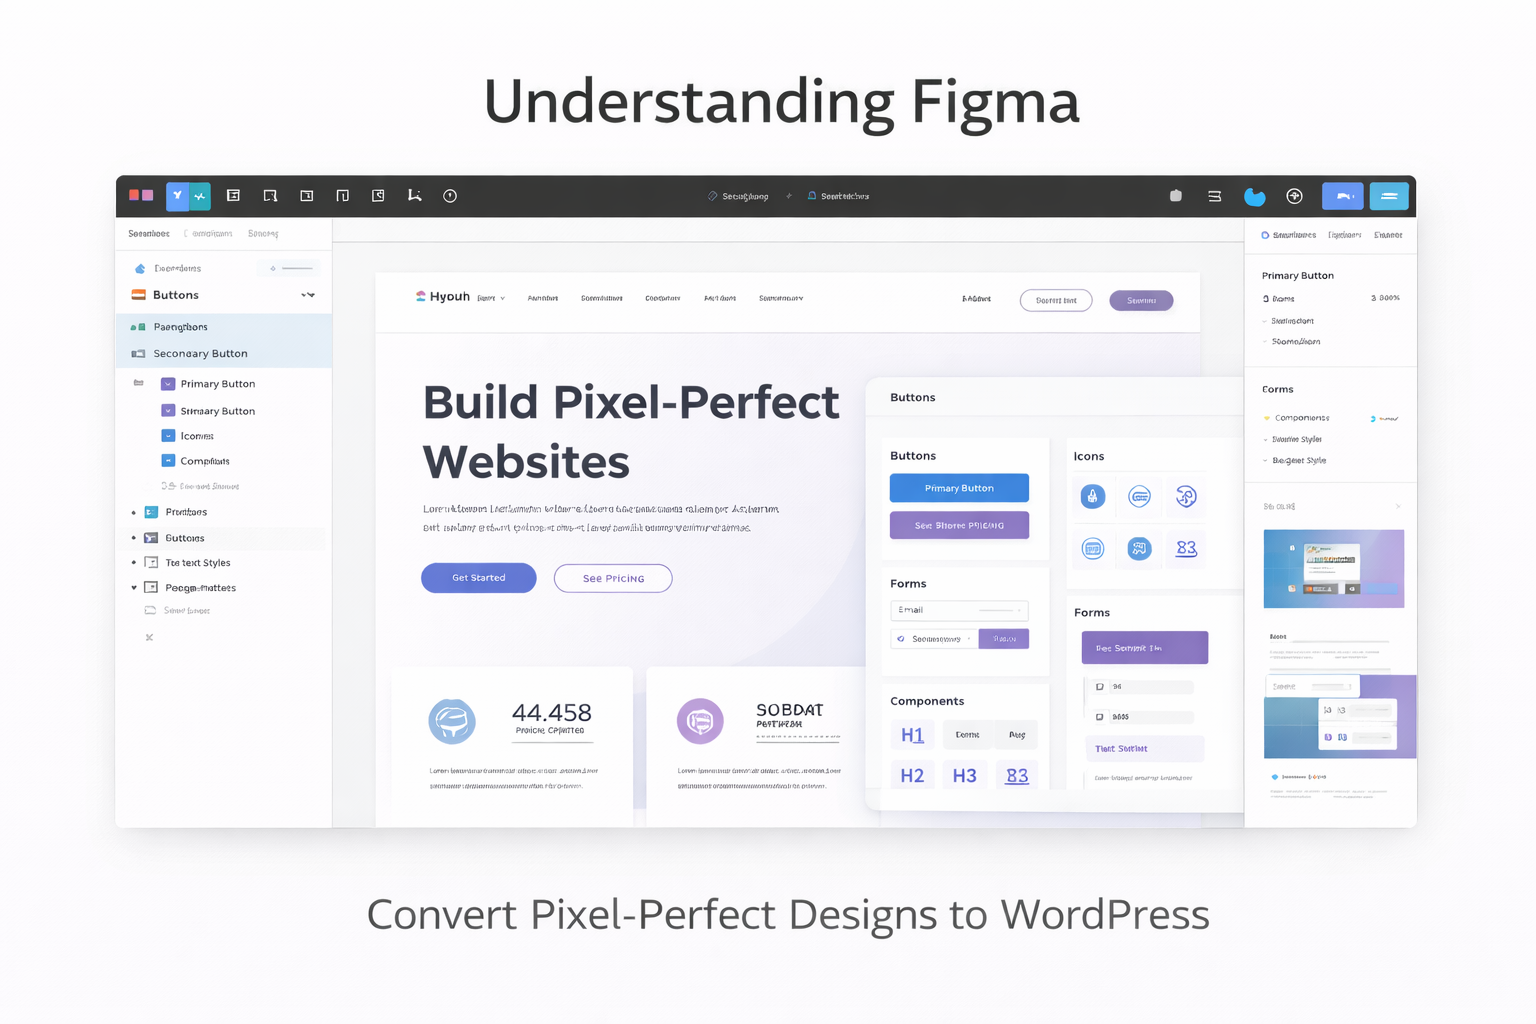
With features like auto layout, components, shared libraries, and design systems, Figma supports scalable web design. Designers can define spacing rules, typography scales, and reusable UI elements that developers later translate during the Figma to Divi process.
Why Designers Prefer Figma
Figma simplifies handoff between design and development teams. Every element includes inspectable values such as font size, line height, padding, margins, colors, and breakpoints. These specifications reduce guesswork during implementation.
Key advantages for Figma to Divi workflows include:
- Centralized design files
- Real-time collaboration
- Precise layout measurements
- Component-based design systems
- Responsive layout previews
Designers can prepare layouts knowing that developers have direct access to accurate design data.
Learn more about Figma:
👉 Checkout Figma vs Canva vs Framer: Which Tool is Best for Web Design?
Overview of Divi
What Is Divi?
Divi is a premium WordPress theme combined with a visual page builder developed by Elegant Themes. It allows developers and content editors to build pages using drag-and-drop modules while retaining control over layout structure.
Divi works on top of WordPress and supports custom CSS, responsive controls, reusable layouts, and global design settings. This flexibility makes it suitable for translating complex designs during a Figma to Divi conversion.
Why Developers Use Divi
Divi offers a balance between visual editing and developer control. While non-technical users can edit content, developers can fine-tune layouts using advanced settings and custom code.
Key Divi features helpful for Figma to Divi builds include:
- Section, row, and column system
- Responsive controls for desktop, tablet, and mobile
- Global fonts and color palettes
- Custom CSS per module
- Theme Builder for headers and footers
These features allow developers to recreate Figma designs with a high level of visual accuracy.
The Importance of Pixel-Perfect Design
What Pixel-Perfect Design Means
Pixel-perfect design focuses on matching the live website layout exactly to the original design file. This includes consistent spacing, typography, alignment, and visual rhythm across all screen sizes.
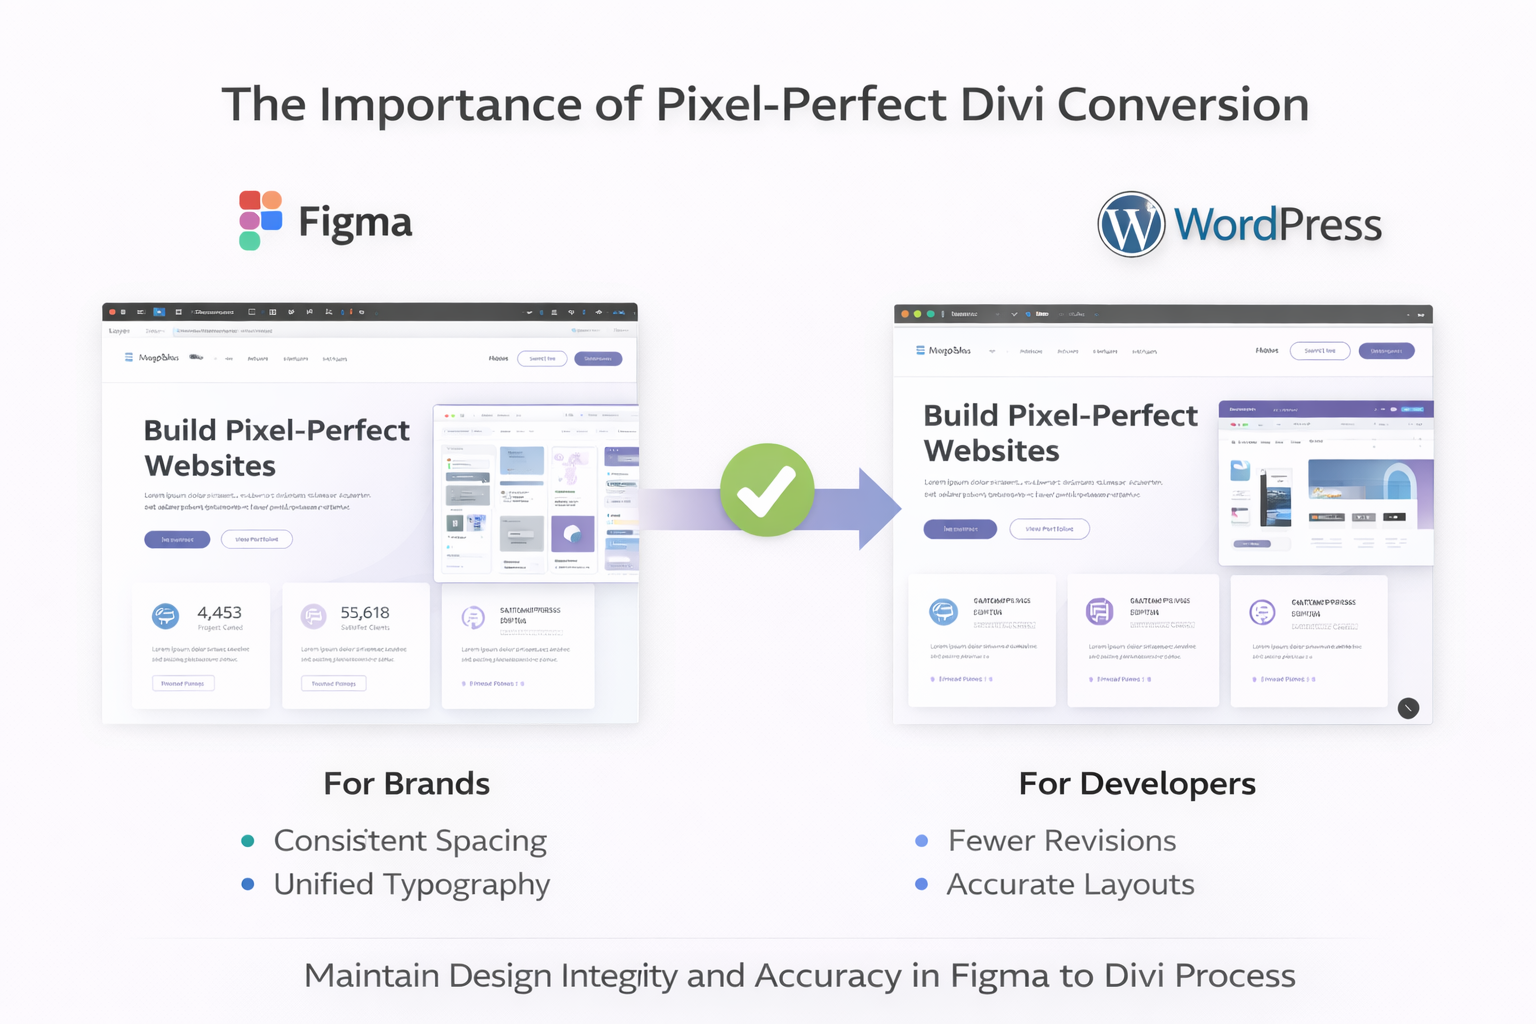
In Figma to Divi projects, pixel-perfect execution helps preserve brand identity. Visitors notice when buttons shift, spacing feels uneven, or typography differs from mockups. These inconsistencies can affect credibility and user engagement.
Common Challenges in WordPress
Achieving pixel-perfect layouts in WordPress often comes with challenges:
- Theme default styles overriding design intent
- Inconsistent spacing across screen sizes
- Font rendering differences
- Limited control in visual builders
A structured Figma to Divi workflow addresses these challenges by aligning design systems with Divi’s layout controls.
The Process of Transitioning from Figma to Divi
Step 1: Prepare the Figma File
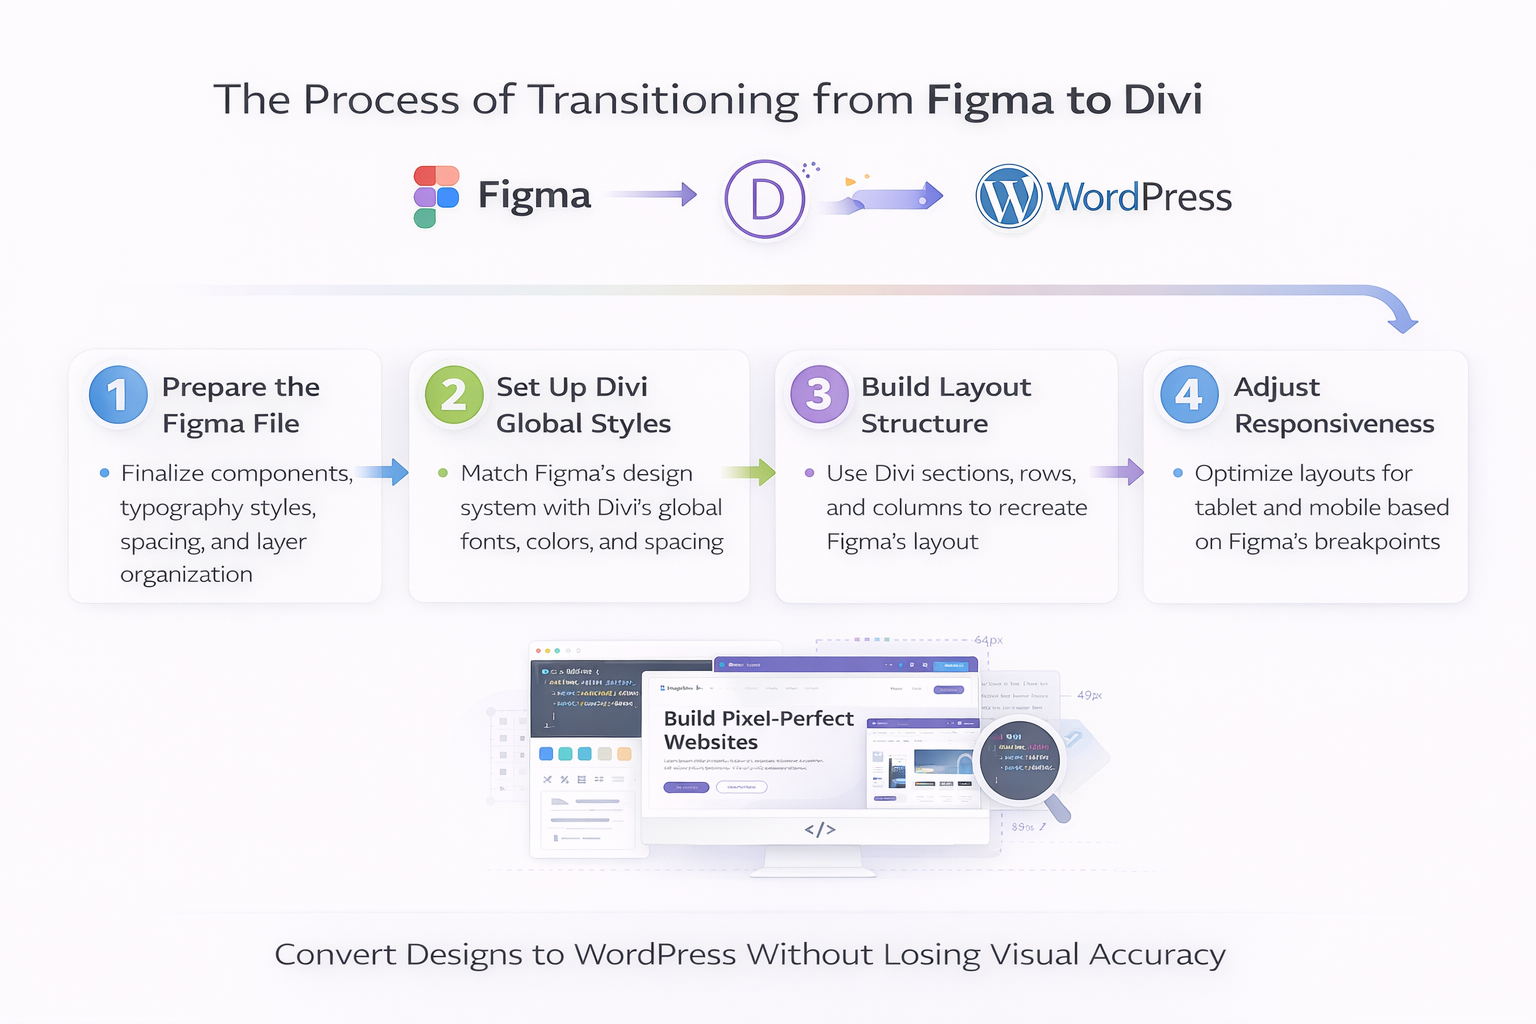
Before development begins, designers should finalize layouts and organize layers clearly. Components should be named properly, and auto layout should be applied where possible.
Preparation steps include:
- Finalizing typography styles
- Defining spacing rules
- Grouping related elements
- Identifying reusable components
Clear preparation reduces confusion during the Figma to Divi build phase.
Step 2: Set Up Divi Global Styles
Divi allows global fonts, colors, and spacing settings. Developers should first configure these values to match Figma’s design system.
This step ensures consistency across pages and speeds up the Figma to Divi workflow.
Step 3: Build Layout Structure
Using Divi’s section, row, and column system, developers recreate the layout skeleton. Each major section from Figma is mapped to Divi sections, while rows and columns reflect grid layouts.
Accurate structure simplifies responsive adjustments later.
Step 4: Match Typography and Spacing
Typography values from Figma’s inspect panel are applied directly in Divi modules. Spacing is adjusted using padding and margin controls rather than unnecessary empty elements.
This step is where pixel-perfect accuracy becomes visible in Figma to Divi projects.
Step 5: Responsive Adjustments
Divi provides device-specific controls. Developers adjust font sizes, spacing, and layout behavior for tablet and mobile views based on Figma breakpoints.
Tools and Plugins That Help
Several tools support smoother Figma to Divi transitions:
- Figma Inspect Panel for measurements
- Browser developer tools for fine adjustments
- Custom CSS for advanced styling
- Child themes for maintainable overrides
While automation tools exist, manual implementation delivers better long-term results for complex designs.
Best Practices for Pixel-Perfect Results
![]()
Maintain Design Fidelity
Avoid shortcuts such as excessive custom modules or unnecessary wrappers. Stick closely to Figma’s spacing and hierarchy.
Best practices include:
- Using consistent spacing values
- Avoiding inline styles
- Leveraging Divi global presets
- Reusing layouts and modules
Responsive Design Considerations
Designs should adapt smoothly across devices. Divi’s responsive settings allow adjustments without duplicating content. During Figma to Divi builds, developers should test layouts across multiple screen sizes and browsers.
Learn more about Divi conversion:
👉 Checkout Framer to Divi Theme Conversion: Step-by-Step Guide 2026
👉 Checkout Figma to Divi: Is There a Direct Export Tool?
Conclusion
A structured Figma to Divi workflow allows teams to transform high-fidelity designs into accurate WordPress builds without losing visual quality. Figma provides clarity and precision at the design stage, while Divi offers flexibility and layout control during development.
When designers and developers align on structure, spacing, typography, and responsiveness, pixel-perfect WordPress pages become achievable. This approach reduces revisions, improves consistency, and supports scalable website growth.
At XHTMLTEAM, we specialize in professional Figma to Divi conversion services, delivering pixel-perfect WordPress builds with clean structure, responsive accuracy, and long-term maintainability. Our team carefully interprets design specifications, matches spacing and typography precisely, and ensures every layout performs smoothly across devices. With years of frontend expertise, XHTMLTEAM bridges the gap between design intent and fully functional WordPress websites—without compromise.